Using Hugging Face AutoTrain to train an image classifier without writing any code.
How can we train useful machine learning models without writing code?
Introduction
There are many potential uses of computer vision in GLAM (Galleries, Libraries, Archives and Museums). These uses include:
- image similarity search, i.e., given an image, find similar images
- text search of images, i.e., given a text string “a picture of a dog eating an ice cream,” return relevant images
- page layout recognition, i.e., pull out semantically important parts of a document (articles, photos, titles, etc.)
- Optical Character Recognition (OCR)
All of these use cases require some technical work to implement or use. Usually, they need some programming knowledge too. However, there are many tasks in GLAM where computer vision could be helpful to, requiring less technical work to implement. In particular, many uses of computer vision can be framed as an image classification task (putting images into categories).
Last year, Kaspar Beelen, Melvin Wevers, Thomas Smits, Katherine McDonough, and I shared a two-part Programming Historian lesson, Computer Vision for the Humanities: An Introduction to Deep Learning for Image Classification.
This lesson aimed to provide an introduction to how computer vision can be leveraged to work with images ‘at scale’ – in particular for research applications. While we tried hard to make the lesson (particularly part one) accessible, there are still barriers to getting started:
- You need some Python knowledge: while we tried to keep the Python code simple (helped massively by the fastai library we use in the lesson), knowing how to code is still required. I couldn’t find a good citation for this, but most estimates for the number of people who know how to program are around 0.5-1% of the global population. Of this percentage, fewer will know Python.
- Need to have access to a GPU: whilst you can train deep learning models (the type of machine learning model introduced in our Programming Historian tutorial), it is a lot slower without them. However, setting up access to a GPU can be annoying. While ‘free’ access is possible, this can also come with constraints.
- The costs involved in training deep learning models can be hard to predict. You can usually get started for free, but often at some point, you need to invest some money in cloud computing. However, it can be difficult to know before you start training a model(s) how much it will cost.
Beyond this, there is also a bigger question of how much energy you might want to invest in all of the above stuff involved in getting machine learning set up. This is especially true if you don’t want to become a machine learning engineer and want to do something practical with machine learning.
Training a machine learning model is the boring part
Many machine learning engineers will grimace at the title of this section. However, many use cases of machine learning exist where an existing machine learning architecture will work well. Training a model is not what would benefit most from human intervention.
For novel applications of machine learning or situations where you want to ensure a model is well suited to your domain, you may need to spend time creating training data. After training your model, there is also a step where you need to decide how to integrate machine learning into existing or new workflows. This is partially a technical question but often involves considerations beyond how I set up an API to serve my model.
Hand-training models can eat up a lot of time. Sometimes this time might be warranted but other times you might wish you could make some of this process less hands-on.
Can we approach this in another way?
AutoTrain is a tool that allow us to train machine learning models without needing to use Python, setup compute infrastructure or deal with unpredictable costs for training our models. In the rest of this blog post we’ll go through the steps to using AutoTrain for a semi-realistic computer vision problem.
The dataset
For this project we’ll use a dataset created by the Internet Archive as part of a request for help to judge a book by its cover. The blog post presents a use case for wanting to know if an image of a book cover is ‘useful’ or ‘not useful’. They provide some examples
Useful image example:
 Not useful image example:

Essentially the task is to decide whether an image of a digitized book cover is ‘useful’ or ‘not useful,’ i.e. whether showing this cover to Internet Archive users would give them useful information or not. The Internet Archive shared a dataset along with this blog post which contains examples for each category.
What type of machine learning task is this?
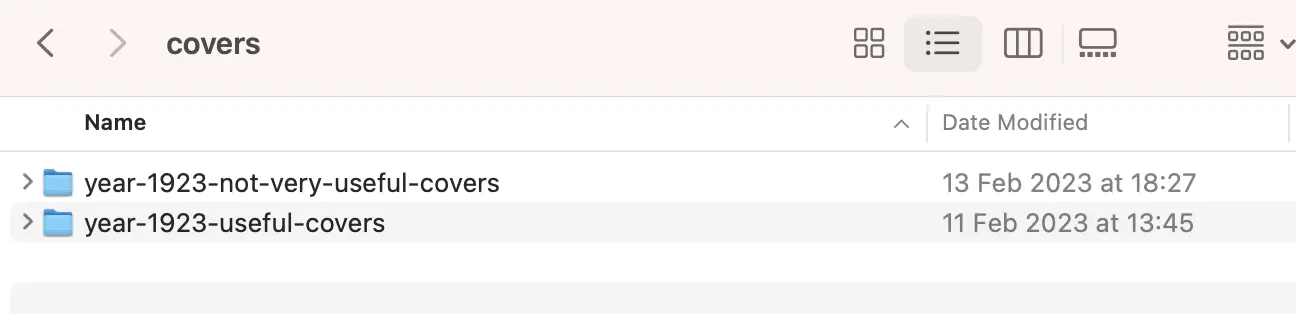
If we look at the dataset shared by the Internet Archive, we have a directory structure that looks like this:
.
├── year-1923-not-very-useful-covers
└── year-1923-useful-covers
We have two folders containing images. Each folder contains examples of image belonging to the name of each folder. Essentially, we want a model that learns which image belongs in each folder (based on the examples) and can put new images into the correct folder/category. This is known as an image classification task (as was mentioned in the introduction). The Hugging Face tasks page for this gives an excellent overview: https://huggingface.co/tasks/image-classification
What are the steps involved?
How do we go from the dataset we started with to a trained model that we can begin to explore? For this particular example, the steps are as follows:
- Download our data
- Prepare our data
- choose our autotrain task
- Upload our data to autotrain
- Train our models
- Evaluate our models
Download our data
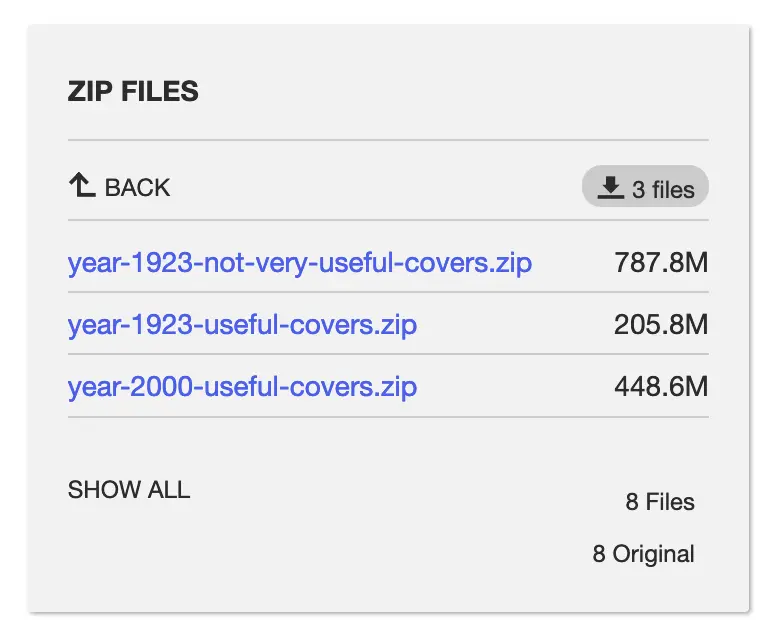
This step will depend on where your data is and how it’s arranged, but in this example, we can download the dataset from the Internet Archive. Three folders are provided in this case covering useful/not-useful for 1923 and for the year 2000 useful. Since the types of cover will have changed a fair bit in this time period we’ll just download the folders for 1923.
Preparing our data
There isn’t much prep we need to do for our data; however, we can provide data to AutoTrain in a few different ways for our image classification task. In this case we’ll use the imagefolder format. This is essentially what we have already (folders containing examples of the labels we’re interested in). We’ll create a top-level directory for our image data cover, which contains two subfolders with our example images.
Resize our images (optional)
This step isn’t strictly necessary, but it’ll save time when uploading our dataset to AutoTrain. Most machine learning models expect training images to be relatively small (often 224x224 or 512x512 pixels). You can do this from the command line, but most operating systems have inbuilt tools for bulk resizing images, e.g., https://www.makeuseof.com/tag/batch-convert-resize-images-mac/
Setup AutoTrain
From the projects page, we can create a new project.

Here we give our project a name and choose a task (image classification). We can also specify for AutoTrain to use a particular model. If you don’t have a solid reason to select a model you can leave this decision to AutoTrain 🤗.
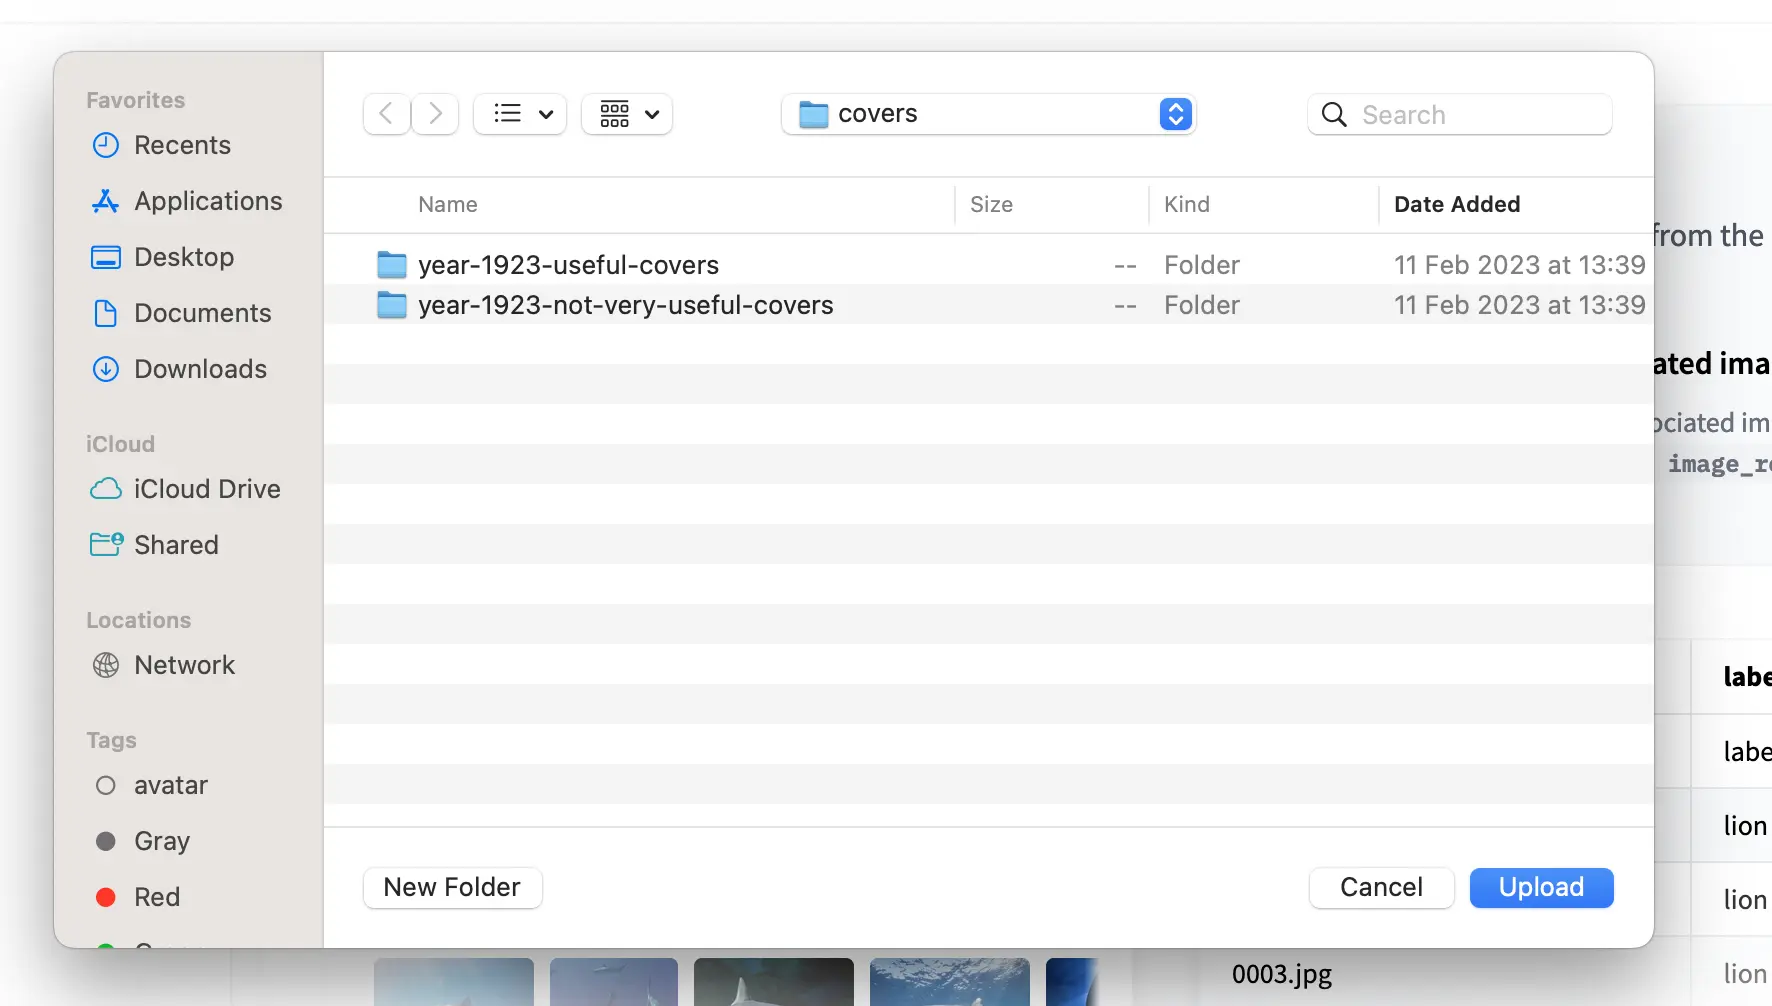
Once you’ve created your project, you’ll need to upload your data. There are different ways of doing this depending on the task. For image classification, we can use pre-arranged folders with a CSV/JSONL file with the labels or upload a dataset hosted on the Hugging Face hub.

We already have an organized folder so we can upload data.
Once we’ve uploaded our images, we’ll need to wait for the data to be uploaded. How long this takes depends on your internet speed. We can now click on Go to trainings.

Here you will see that AutoTrain is formatting your uploaded data.

Once your data has been prepared, you can decide how many models you want AutoTrain to train for you. This decision depends on how much you want to spend on training your models and where you are in your project. If you are getting started and want to know how well a model may do, you may choose a lower number. If you want the best possible chance of getting the best-performing model, you could choose to train a more significant number of models.

Once you are ready, you can smash the start model training button!🔥
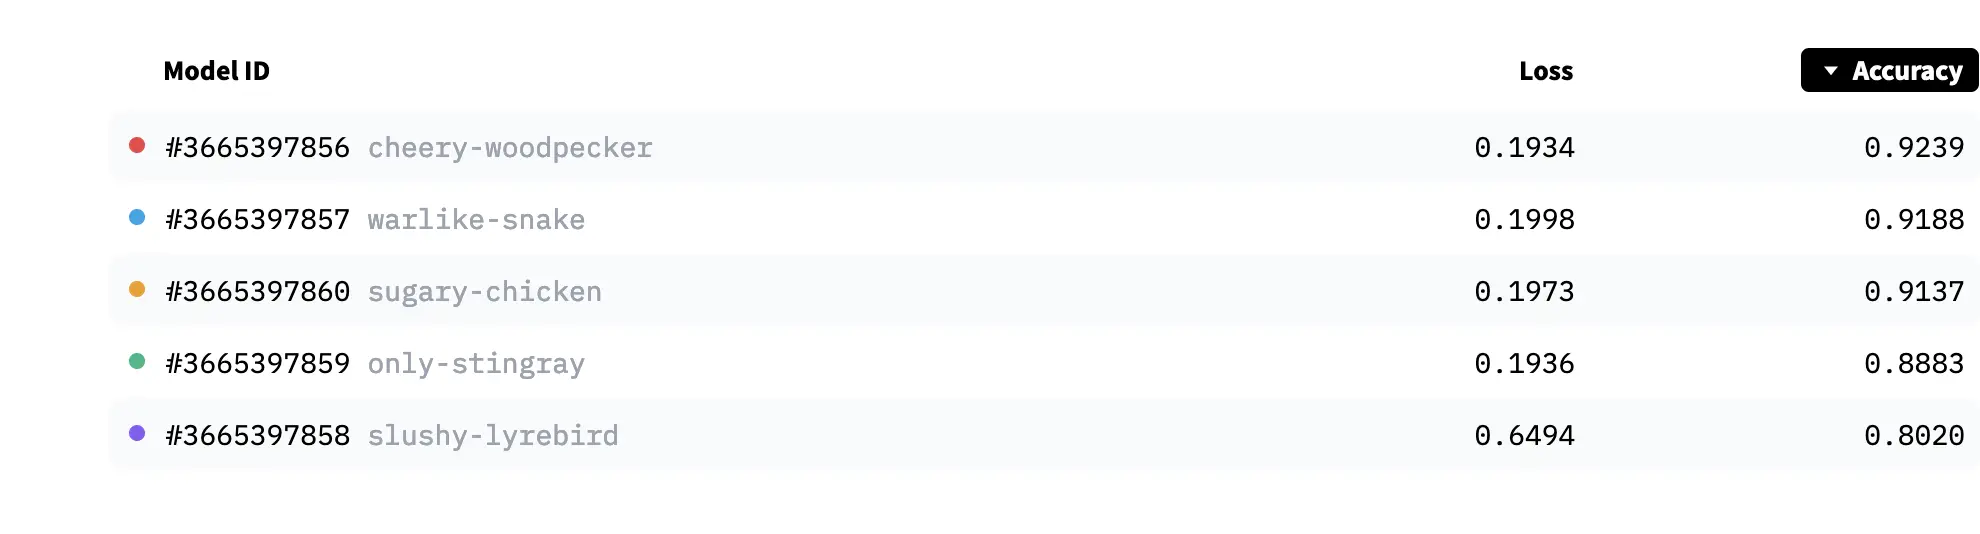
The nice thing is that AutoTrain will ask you to confirm how much model training will cost. Once your models start training, a screen pops up with some randomly named models. Depending on the size of your dataset, it might take a bit longer to start seeing metrics for your model, but after a little while, you will begin to see scores (in this case, accuracy).
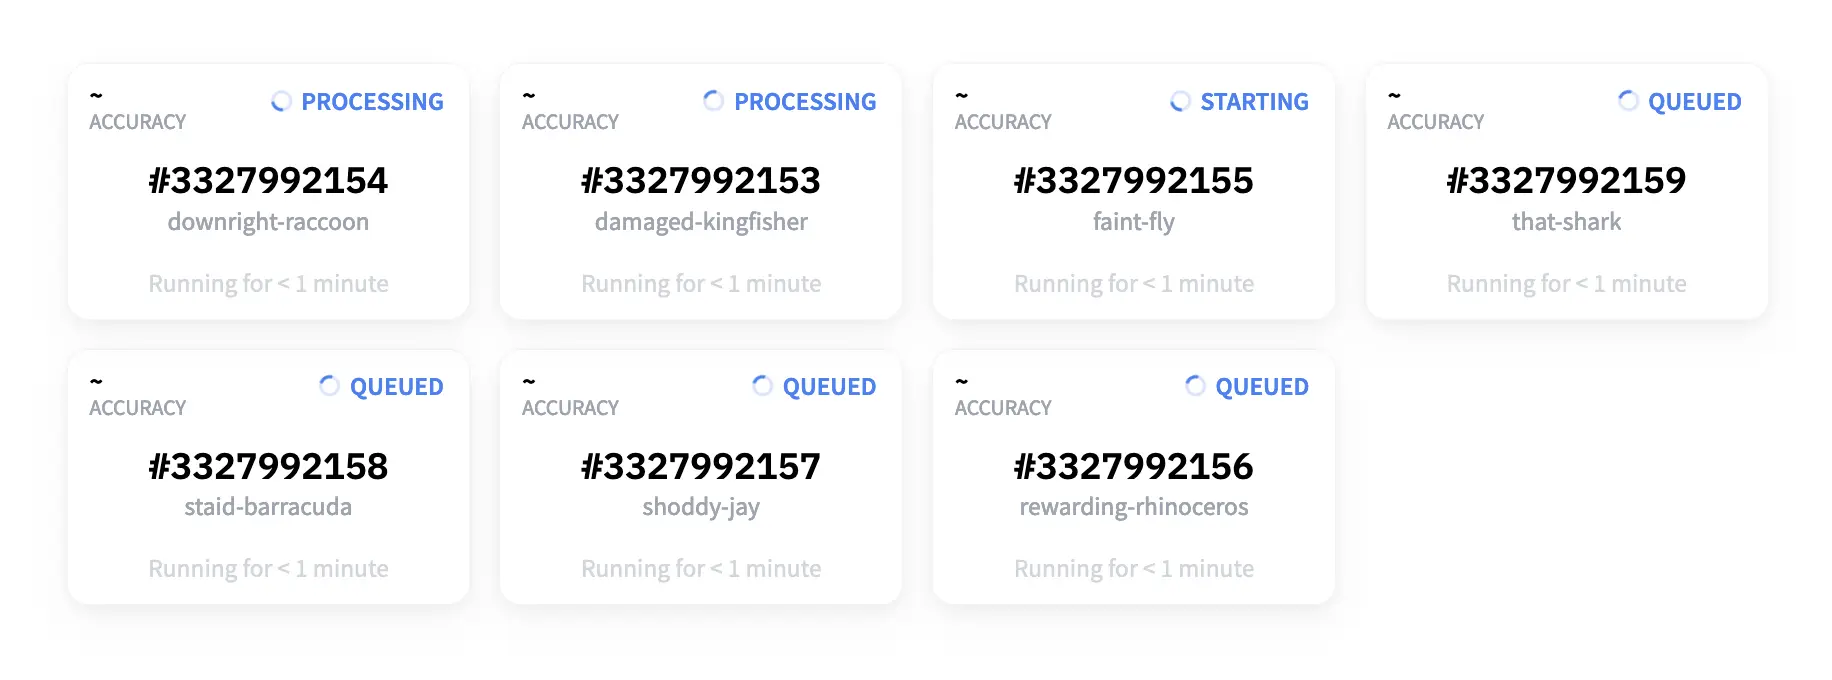
As the models train, you will see some models overtake others in performance. If you are easily amused like me, you will treat this like a fun spectator sport.

You also have a metrics overview tab for all the models you have trained. This makes it easy to sort by different metrics.

Each of these models created by AutoTrain is a ‘real’ model hosted in a model repository on the Hugging Face hub. Some AutoTrain solutions hide away the actual artifacts and only allow you to interact with the models through their API. These models are available in the same way as any other model on the hub. By default, the models are made private, but you can decide to make the models openly available for others to use 🤗.
You’ll also see in the screenshot that the models come with the outlines of a model card.
Why does our model suck?
For this particular dataset, our models don’t do super well (around 92% accuracy). Why is this?
The importance of training data
Start to dig into the training data examples provided. You’ll see that quite a few images might be reasonably classified as belonging to the other category. In particular, quite a few images of the not-useful folder are similar to those in the useful folder. This is going to make it hard for our model to learn what we’re after.
This also shows the importance of focusing on data and not over-focusing on model training. In this case, fixing our data will likely yield much better results than messing around with how we train the models. Using a tool like AutoTrain can quickly help you spot these issues early on so you can iterate on your training data.
How can we fix this??
Move images between folders!!
There are better ways, but spending 30 mins removing examples you don’t think the fit will make a big difference to the model performance. At some point, you are likely to want to use a proper annotation tool but to start with; you might be able to get quite far by using your operating systems file browser to re-arrange your training data.
Below is an example from another similar dataset where we get models with 99% accuracy. All of this without writing a line of code!

What can I do with this model?
There are various ways in which you can use the model you’ve created. How you want to use it depends largely on your use case. In a follow-up blog post I’ll suggest a few options for how you can continue on the no/low-code journey to creating and using ML tools customised to your needs and data 🤗.
Show me the models!
You can find the best models shown above here: